Smart Kitchen Cleaning Tips (101)
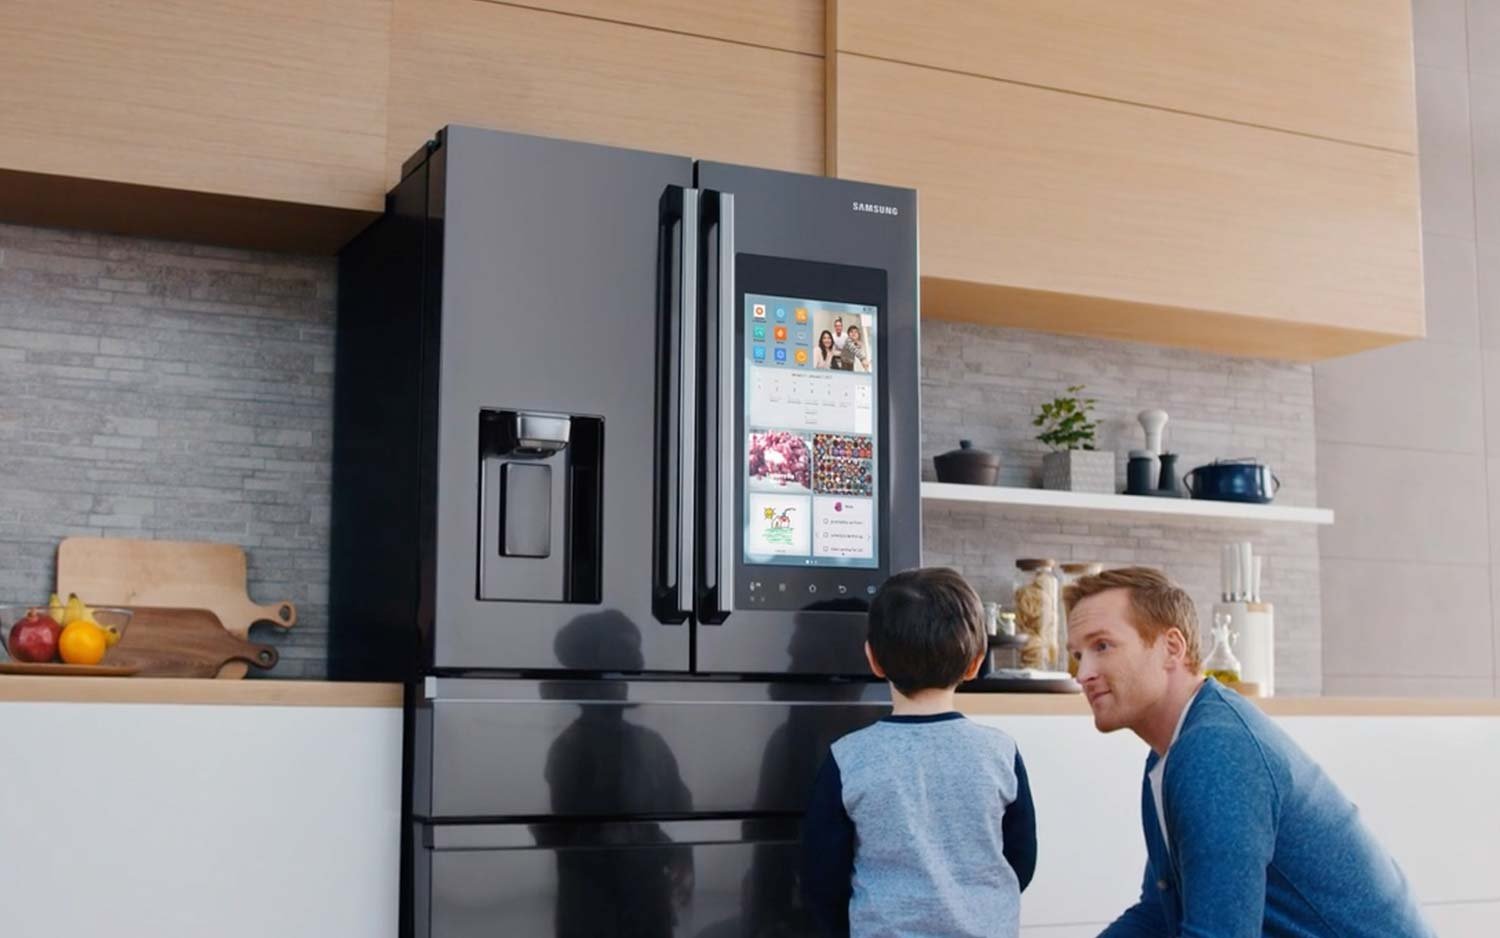
Smart kitchens represent the cutting edge of culinary innovation, blending technology with convenience to create an environment that not only makes cooking easier but also enhances your overall kitchen experience.
These kitchens are equipped with devices that can be controlled remotely, automated processes that save time, and sensors that monitor everything from temperature to food freshness.
However, like any other kitchen, a smart kitchen requires regular cleaning to maintain its functionality and ensure a healthy environment.
Importance of Maintaining a Clean Smart Kitchen
Keeping your smart kitchen clean is crucial not just for aesthetic reasons but also for the longevity and proper functioning of your smart appliances. Dust, grease, and food residues can interfere with sensors and other delicate electronic components, leading to malfunctions or even permanent damage.
A clean kitchen also reduces the risk of bacteria and mold growth, ensuring that your food preparation space remains safe and sanitary. In this guide, we will explore practical tips to help you maintain a clean and efficient smart kitchen.
General Cleaning Tips for Smart Kitchens
Let’s Explore some General Cleaning Tips for Smart Kitchens.
Regular Cleaning Schedule
Establishing a regular cleaning schedule is essential to keep your smart kitchen in top shape. A daily cleaning routine might include wiping down countertops, cleaning spills immediately, and ensuring that high-touch areas like handles and buttons are sanitized.
Weekly tasks could involve more thorough cleanings, such as scrubbing the sink, cleaning appliance surfaces, and organizing pantry items.
Monthly deep cleaning should focus on areas that are less frequently cleaned, like behind appliances, inside the oven, and on top of cabinets. By sticking to a routine, you can prevent dirt and grime from building up and keep your kitchen looking and functioning like new.
Choosing the Right Cleaning Products
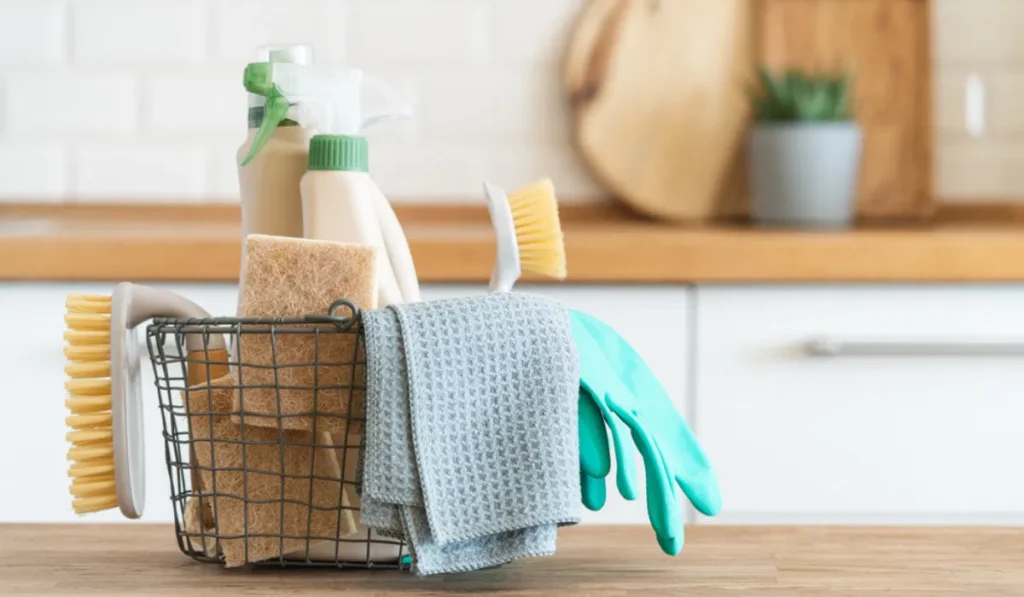
Not all cleaning products are safe for use on smart appliances. Harsh chemicals can damage touchscreens, sensors, and delicate surfaces. It’s important to select cleaning agents that are specifically designed for use with electronics and kitchen appliances.
Microfiber cloths are excellent for wiping down surfaces without scratching them, and they work well with water or mild cleaners. For tougher spots, a gentle dish soap mixed with water is often sufficient.
Avoid using abrasive sponges or cleaners with bleach or ammonia, as these can cause damage to your appliances’ finish and electronic components.
Spot Cleaning vs. Deep Cleaning
Understanding the difference between spot cleaning and deep cleaning is key to maintaining your smart kitchen efficiently. Spot cleaning involves quickly addressing spills, splatters, and smudges as they occur, preventing them from hardening and becoming more difficult to remove.
Deep cleaning, on the other hand, involves more intensive tasks like scrubbing out the oven, cleaning the inside of your refrigerator, and disinfecting your sink.
Both types of cleaning are necessary, but deep cleaning should be scheduled less frequently, depending on your kitchen’s usage and condition.
Cleaning Specific Smart Appliances
Let’s Explore Cleaning Specific Smart Appliances.
Smart Ovens
Smart ovens come with features like touchscreens, sensors, and self-cleaning modes, but they still require regular cleaning to perform their best. Start by wiping down the exterior with a microfiber cloth and a mild cleaner, paying special attention to the control panel and touchscreen.
Avoid using too much liquid on the touchscreen to prevent moisture from seeping into the electronics. For the interior, use the self-cleaning mode if available, or manually clean it using a paste made of baking soda and water.
Apply the paste to any burnt-on food, let it sit for a few hours, and then scrub it off with a non-abrasive sponge. Rinse with a damp cloth to remove any residue.
Smart Refrigerators
Cleaning a smart refrigerator involves more than just wiping down the shelves. Start by removing all the contents and discarding any expired or spoiled items. Take out the shelves and drawers, and wash them with warm, soapy water.
While these are drying, clean the interior walls of the refrigerator with a solution of water and vinegar to eliminate bacteria and odors. Pay special attention to the door seals, which can accumulate crumbs and spills.
For the exterior, particularly if your refrigerator has a touchscreen or control panel, use a microfiber cloth and a gentle cleaner. Don’t forget to clean the water and ice dispenser, as these areas can harbor mold and bacteria.
Regularly replace the water filter to ensure your ice and water remain clean and fresh.
Smart Dishwashers
Smart dishwashers are designed to be self-cleaning to some extent, but they still require regular maintenance to function efficiently. Begin by cleaning the exterior with a mild cleaner, especially around the control panel.
Inside the dishwasher, remove the filter and clean it with warm, soapy water to remove any trapped food particles that can cause odors or reduce efficiency. Wipe down the door gasket and edges where grime tends to build up.
If your dishwasher has spray arms, check them for clogs and clean out any debris with a toothpick or brush. Run an empty cycle with a dishwasher cleaner or a cup of vinegar on the top rack to deep clean the interior and eliminate any lingering odors.
Smart Cooktops
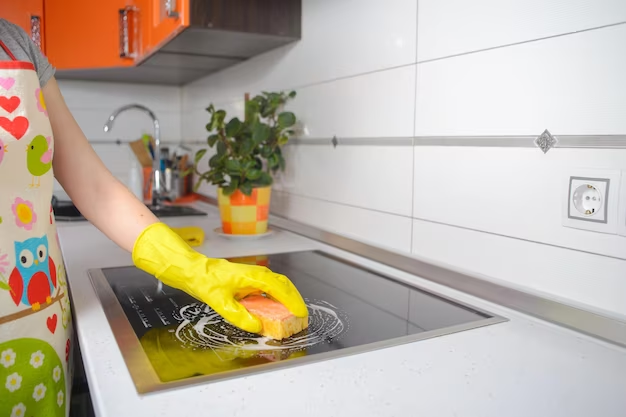
Smart cooktops, whether induction or gas, require careful cleaning to avoid damaging their surfaces and sensors. For induction cooktops, use a specialized cooktop cleaner and a soft cloth to remove spills and splatters. Avoid abrasive sponges or pads that could scratch the surface.
If something spills during cooking, clean it up immediately to prevent it from hardening and becoming more difficult to remove. For smart gas cooktops, remove the grates and burners and soak them in warm, soapy water.
Wipe down the cooktop surface with a mild cleaner, and make sure the burners are completely dry before reassembling them. Regularly check the sensors and control panels for grease or food residue and clean them gently with a microfiber cloth.
Smart Microwaves
Cleaning a smart microwave involves both the interior and exterior. Start with the exterior, using a microfiber cloth and a gentle cleaner to wipe down the door, handle, and control panel.
For the interior, place a microwave-safe bowl filled with water and a few slices of lemon inside and heat it on high for a few minutes. The steam will loosen any stuck-on food, making it easier to wipe away with a sponge or cloth.
If there are stubborn stains, a paste of baking soda and water can be applied to the spots, left for a few minutes, and then scrubbed away. Don’t forget to clean the turntable, which can usually be removed and washed in the sink.
Smart Coffee Makers
Smart coffee makers need regular cleaning to ensure they brew great-tasting coffee and remain free of bacteria and mold. Start by cleaning the brewing system with a solution of equal parts water and white vinegar.
Run this solution through a brewing cycle, then run two more cycles with just water to remove any vinegar residue. Clean the carafe and water reservoir with warm, soapy water, and wipe down the exterior with a microfiber cloth.
If your coffee maker has a grinder, make sure to clean it regularly to prevent coffee grounds from clogging the system.
Smart Trash Cans
Smart trash cans, which often come with motion sensors or automatic lids, require regular cleaning to prevent odors and maintain functionality. Start by emptying the trash and removing the liner.
Wipe down the interior and exterior with a disinfectant cleaner, paying close attention to the lid and sensor areas where grime can build up. If your trash can has a deodorizing feature, replace the filter as needed.
To prevent odors, consider placing a small amount of baking soda at the bottom of the can before inserting the liner.
Smart Kitchen Cleaning Automation
Let’s Discuss some Points about Smart Kitchen Cleaning Automation Now.
Self-Cleaning Features
Many smart appliances come with self-cleaning features that can save you time and effort. For example, smart ovens often have a self-cleaning mode that uses high heat to burn off food residue, reducing it to ash that can be easily wiped away.
Smart dishwashers may have a sanitation cycle that uses high temperatures to kill bacteria and remove buildup. While these features are convenient, it’s important to use them correctly.
Always follow the manufacturer’s instructions, and never use the self-cleaning mode if there is a significant amount of grease or heavy residue, as this can cause smoke or even a fire.
Using Smart Assistants for Cleaning Reminders
One of the advantages of a smart kitchen is the ability to set up cleaning reminders through smart assistants like Amazon Alexa or Google Assistant.
You can program your assistant to remind you when it’s time to clean specific appliances, change filters, or perform other maintenance tasks.
For example, you could set a monthly reminder to clean your dishwasher filter or a weekly reminder to wipe down your refrigerator’s exterior. These reminders help ensure that you stay on top of your cleaning routine, keeping your kitchen in pristine condition.
Smart Robotic Cleaners
Robotic cleaners, such as smart vacuums or mops, can be a great addition to your kitchen cleaning routine.
These devices can be programmed to clean your kitchen floor on a schedule, picking up crumbs, dust, and pet hair without any effort on your part. Some models even have advanced mapping capabilities that allow them to navigate around obstacles and clean under furniture.
To get the most out of your robotic cleaner, make sure to keep the floor free of large debris that could obstruct the device, and regularly clean its sensors and brushes to maintain its performance.
Maintenance Tips to Keep Your Smart Kitchen Clean
Let’s Review some of the Maintenance Tips to Keep Your Smart Kitchen Clean.
Preventing Grease and Stain Buildup
Grease and stains are inevitable in any kitchen, but with a few simple strategies, you can minimize their impact. Use splatter guards or lids when frying or sautéing to contain grease.
Wipe up spills as soon as they occur to prevent them from setting in. Consider using non-stick liners on oven racks or in the bottom of the oven to catch drips and make cleanup easier.
In addition, regular cleaning of your exhaust fan or range hood will help remove grease from the air, reducing buildup on your appliances and surfaces.
Keeping Air Quality in Check
Maintaining good air quality in your kitchen is essential, especially when using appliances that generate smoke, steam, or odors. A smart range hood or air purifier can help keep the air clean by filtering out particles and odors.
Make sure to clean or replace the filters in these devices regularly to maintain their efficiency. Also, consider ventilating your kitchen by opening windows or using an exhaust fan to help reduce moisture and prevent mold growth.
Managing Kitchen Waste Efficiently
A smart kitchen is designed to be efficient, and that includes waste management. Consider setting up a smart waste system that includes separate bins for recycling, composting, and trash.
Smart trash cans with motion sensors or voice controls can make it easier to dispose of waste without touching the lid, reducing the spread of germs. Regularly empty your trash and recycling bins to prevent odors and pests, and clean the bins themselves as needed.
Eco-Friendly Cleaning Tips
Let’s Explore some Eco-Friendly Cleaning Tips.
Green Cleaning Products for Smart Kitchens
Using eco-friendly cleaning products in your smart kitchen is not only better for the environment but also safer for your appliances and your health. Look for cleaners that are free of harsh chemicals like ammonia and chlorine, and instead use plant-based ingredients.
Products that are biodegradable and come in recyclable packaging are also good choices. You can find eco-friendly options for everything from all-purpose cleaners to dish soap and glass cleaners.
DIY Cleaning Solutions
If you prefer to make your own cleaning solutions, there are plenty of DIY options that are safe and effective for use in a smart kitchen. A simple mixture of vinegar and water works well for cleaning glass, countertops, and appliances.
Baking soda can be used as a gentle abrasive for scrubbing surfaces without scratching them. For a natural disinfectant, try mixing tea tree oil with water and spraying it on surfaces. These homemade solutions are not only eco-friendly but also cost-effective.
Energy-Efficient Cleaning Practices
Conserving energy while cleaning is another way to make your smart kitchen more eco-friendly. Use cold water for most cleaning tasks to save on heating costs. When using your dishwasher, run it only when it’s full to maximize efficiency.
Consider air-drying dishes instead of using the dishwasher’s drying cycle. Appliances like ovens and cooktops use residual heat to clean after cooking, which reduces the need for additional energy use.
By adopting these energy-efficient practices, you can reduce your environmental impact and save money on utility bills.
Troubleshooting Common Cleaning Issues
Let’s Review some Troubleshooting Common Cleaning Issues.
Stubborn Stains and Odors
Even with regular cleaning, you may encounter stubborn stains and odors in your smart kitchen. For tough stains on appliances, try using a paste made from baking soda and water.
Apply the paste to the stain, let it sit for a few hours, and then scrub with a non-abrasive sponge. For persistent odors in your refrigerator or dishwasher, place a bowl of baking soda or activated charcoal inside to absorb the smells.
If these methods don’t work, consider using a specialty cleaner designed for the specific material or appliance.
Sensor and Control Panel Issues After Cleaning
Sometimes, cleaning can inadvertently cause issues with sensors or control panels on your smart appliances. If your appliance is not responding after cleaning, try restarting it by unplugging it for a few minutes and then plugging it back in.
Make sure that the sensors and panels are completely dry before using the appliance again. If the problem persists, consult the manufacturer’s troubleshooting guide or contact customer service for assistance.
Avoiding Damage During Cleaning
To avoid damaging your smart appliances during cleaning, always follow the manufacturer’s recommendations for cleaning products and methods. Never use excessive water or harsh chemicals on electronic components, and avoid using abrasive materials that could scratch surfaces.
When cleaning around sensors and control panels, be gentle and use a dry or slightly damp cloth. Taking these precautions will help protect your appliances and extend their lifespan.
Conclusion
Maintaining a clean smart kitchen requires a combination of regular cleaning routines, the right products, and careful attention to the specific needs of your appliances.
By establishing a cleaning schedule, choosing appropriate cleaning agents, and using smart technology to assist with cleaning tasks, you can keep your kitchen in top condition.
A clean kitchen is not only more pleasant to use but also safer and more efficient. By investing a little time in regular cleaning and maintenance, you can enjoy all the benefits of your smart kitchen without the worry of malfunctions or health hazards.
Plus, a clean kitchen is always ready for you to try out new recipes and entertain guests with confidence.


