Kitchen Camera Setup | The Only Guide You Will Be Needing In 2025
YouTube videos that include tutorials, vlogs and traditional cooking demonstrations are booming right now, in fact, more than ever, and the competition is going nowhere.
In fact, even smaller channels are churning up content that feels like it’s made in a proper studio, the budget behind is simply palpable. But budget is not the only trick that should be up your sleeve.
As you may have clearly noticed, this is something everyone is doing it now, but let me tell you something, just having a phone and a kitchen isn’t enough, you have to actually know how to set everything up, which is the thing most peeps forget about and then wonder why they have bad videos.
Because, let’s be honest, a good camera setup is actually super important for making your videos look nice and not some cheap, cringe video that makes everyone want to turn off the monitor, you know?
In other words, A good video setup, with some fancy camera, lights, and the right angles makes a big difference, and that’s where our little but handy guide on Kitchen Camera Setup comes into play. Let’s shed some light on why it’s important,
Understanding the Importance of a Proper Kitchen Camera Setup
If you think you can just start recording a cooking video without any sort of plan, then you are wrong and I have some bad news for you.
A proper setup helps make your videos look way better which in return will get you more views, and more viewers mean more subscribers, which every content creator wants at the end of the day, you know.
The key is to make your kitchen look and cooking demonstration feel different than the million other channels by simply focusing on creating quality content.
A well-thought-out kitchen camera setup not only enhances the visual quality of your videos but also streamlines the filming process, which enhances your content’s efficiency and ultimately increases its quality and appeal.
This means greater value delivered to your audience with enhanced professionalism that distinguishes it from others.
So What’s The First Step?
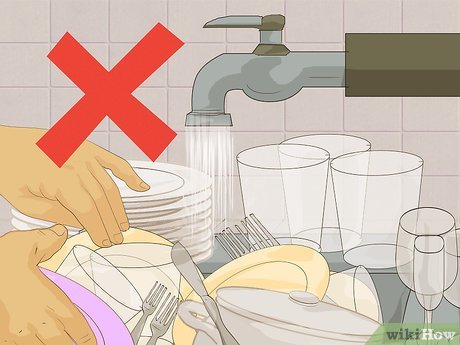
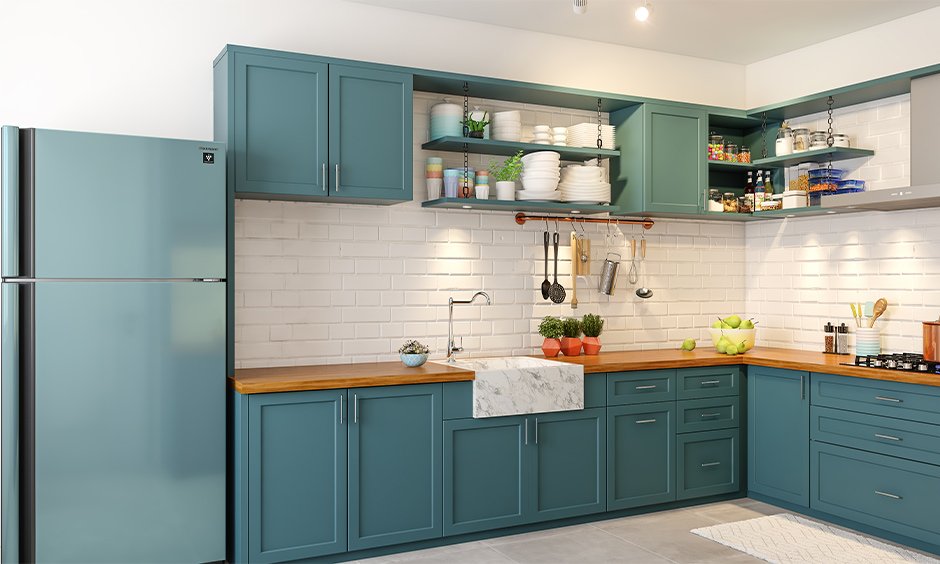
Good question, the first step is the most crucial one and it is making sure before you even think about grabbing the camera, go clean up the whole kitchen chuck all that nasty clutter away, and organize everything.
This will give you the perfect space for filming and make the area feel way more organized, rather than looking like a cheap mess.
Viewers tend to be captivated by professional-looking setups more, this is what statistics say, so it’s not like I am making up these facts.
And this aspect is directly correlated to the idea that food is something you consume and if the background isn’t clean or messy, it gives an impression of uncleanliness, potentially putting viewers off from engaging with your content.
A clean, organized space creates a sense of professionalism and hygiene that increases audience trust and confidence in the food preparation and demonstration presented to the audience.
Start by wiping down all surfaces to eliminate any smudges, spills or food residue. Then arrange frequently used items neatly, placing them within easy reach and making your workflow visibly easier, making it clearer for your audience to watch. Attention to detail is the key and you don’t want individuals to point out things that are out of place in your kitchen.
The Next Important Step – Choosing the Right Camera for Cooking Videos
Gone are the days when your cheap old point-and-shoot camera could meet your needs. Today’s YouTube landscape is competitive and high quality is essential to stand out. The control, features and image quality are found in more capable cameras.
Additionally, nobody likes to watch grainy, mushed-up low-quality videos, even if the chef is Gordon Ramsay himself.
So when it comes to cameras, you have a lot of options here, DSLRs, mirrorless cameras, or even your phone. DSLRs and Mirrorless are good if you want pro-quality but they can be heavy on the pocket.
But if you have a brand new phone, you can also use that, they are almost the same when you compare it with a DSLR in terms of video output. Just make sure the camera has good resolution and can record at 60fps.
In that case, I would suggest newer phones like models from Apple (iPhone 13 and above), Samsung (Galaxy S22 and above), or Google Pixel (Pixel 6 and above). These phones generally offer excellent video capabilities, including high resolution and frame rates, making them suitable for filming high-quality cooking videos without significant investment.
Many phones of this quality contain features specifically tailored for video and contain versatile editing features such as a sensor size (larger sensor generally better quality), optical image stabilisation (for smoother video), and the ability to shoot in 4K resolution at 60fps.
As for DSLR or mirrorless setup, consider models from Canon (EOS series), Nikon (Z series), or Sony (Alpha series).
These manufacturers offer a wide range of cameras suitable for videography, with features such as excellent image quality, interchangeable lenses, and advanced video recording capabilities that greatly improve versatility for enhancing your videos for an improved quality of output.
You also need to compliment your videography with decent lenses, in that case, i would highly suggest that you don’t overlook the importance of lens selection. A good lens can make a huge difference in the overall image quality and allows for flexibility in terms of capturing various shots or various aspects of the content presented within the video.
Lenses suitable for videography have specific features like image stabilisation, wide apertures for better low-light performance, and versatile focal lengths suited to various aspects of cooking tutorials, such as detailed close-ups, and sweeping, comprehensive overviews of the entire cooking process or the workspace.
Additional Camera Setup Accessories
Let’s Reveal the Additional Camera Setup Accessories you might need.
1. Stabilisation Is Everything
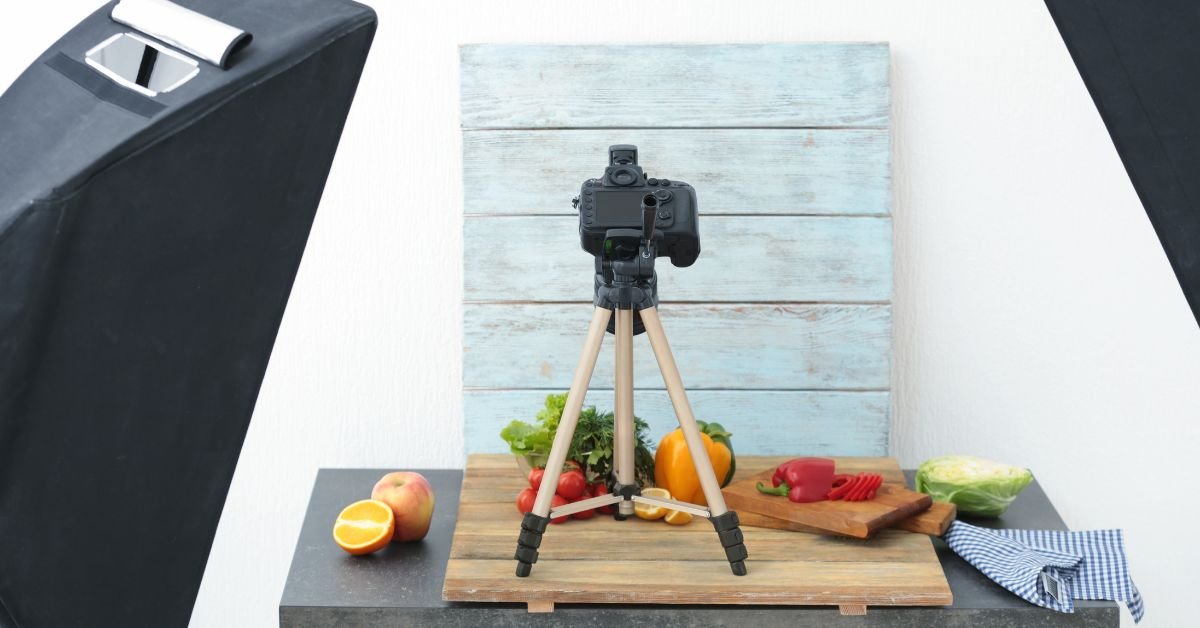
The list gets long but its certainly worth it in the long, speaking of which, If you want to look like a real content creator then you gotta have a tripod because no one wants to watch some shaky video all the time.
You can grab a cheap tripod or you can get a super cool over-head rig which you can get on Amazon for under 100$ which will give you some awesome top-down shots.
2. Lighting Equipment
Here comes the tricky part, natural lighting is the best but you might not have an ample amount of natural light. You can grab some softboxes, LED panels, or even a simple ring light, which you can find from any local store that sells camera equipment.
Using artificial lights will give you a nice soft glow, and you won’t have to deal with all those nasty shadows.
3. Audible Setup
Just like a hazy or low-quality video puts viewers off, you also need to take care of your microphone, Nobody wants to hear some nasty background hissing in a video. Grab a decent external mic, like a Lavalier or shotgun mic, so you have clear audio.
The mics that are built into your phone or camera just aren’t good enough for cooking videos, even if you do feel like since some microphones are optimised to prevent picking up background sound which is unnecessary.
Personal Tricks For Kitchen Camera Setup
- You have got to use different angles to make your videos look professional. An overhead shot from the top is awesome for showing all the ingredients, side shots, or a shot of your face while you cook is good for showcasing the process. Switching up the angles will grab your viewers’ attention.
- As for the shadows, you should totally focus on where you put your lights, Put up some lights to avoid shadows, you don’t want your cooking to look like a horror movie. Use some soft lighting to get rid of those nasty shadows and glares.
- Before you even think of recording anything, make sure you have all your ingredients ready, and all the utensils you need are there, so you don’t have to move around and waste time looking for items. This will make the filming flow nicely.
- If you are using an actual camera, you need to tweak the ISO, aperture, and shutter speed, but that might sound a little complex. You can always go with auto settings but if you want the best output then it’s better to look up on YouTube how to set it up for indoor settings, this will make a massive difference in the overall quality of your video.
- Put your microphone in the right place to get clean audio, and maybe soundproof the kitchen if you have a lot of ambient noise. Trust me you don’t want to hear your fridge or microwave while you are recording your videos, it’s annoying.
Video Optimization Techniques
You will virtually thank me if you follow these techniques, raw footage can only go a mile, to step your game up and boost your camera setup potential, make sure you follow these tricks,
1. Post Processing
You gotta edit your videos after you’re done recording them and for that, there are plenty of apps out there. Some of the most handy video editing applications are Adobe Premiere Pro, DaVinci Resolve, and Final Cut Pro.
These professional-grade applications offer extensive features for colour correction, transitions, effects and audio enhancements if you using a desktop or laptop.
As for mobile applications, there are also a couple of good options, mobile apps like CapCut, InShot, and PowerDirector work wonders.
These apps are convenient for quick edits and provide several features including trimming clips, adjusting colours and adding text overlays, which are handy and enable convenient video editing suited to many requirements and available resources whilst also simplifying mobile-based workflow processes, enabling seamless creation of optimized videos with optimized versatility and increased convenience.
Additionally, if you want to go the extra mile, you might want to add subtitles and some fancy graphics can help a lot, you can add text, logos, and all sorts of stuff to make your videos more engaging. Just make sure it looks professional and not some cheap work.
Conclusion
To end the article, I would throw in a couple of pieces of advice that might resolve your problems, especially if you are struggling. If you don’t have a big kitchen, don’t worry, most people don’t.
Get a wide-angle lens, and use all that space you have got. If you don’t have a wide lens, just move around and make the most of the space you have.
And folks, always remember that background noise is super annoying, so try to minimize it when you can and edit it out during post-production. You can get a mic that minimizes background noise, or if you can’t, then just use editing software to remove it.
So yeah, that’s pretty much everything you need to know about setting up your kitchen camera. Don’t forget to try out all these tips, and make the best cooking videos you can. Let me know if you have any questions in the comment section.

